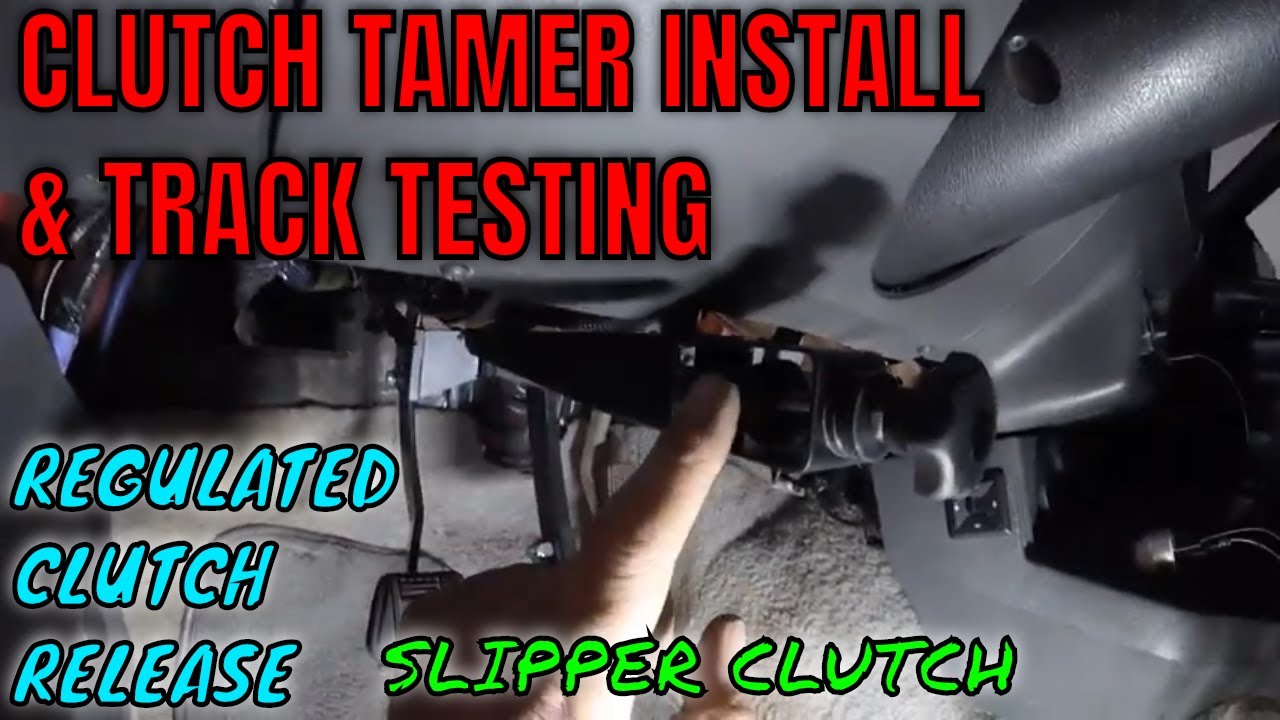
ClutchTamer Info & Pricing
The ClutchTamer is basically a small hydraulic cylinder that takes much of the inconsistent human element out of precisely controlling your car's clutch pedal. It's adjustable for exactly where in the clutch pedal's travel that it becomes active, and adjustable for rate of release from that point on. The cylinder has characteristics similar to those of a 90/10 shock. Because the ClutchTamer attaches to the clutch pedal itself, it works equally well on both hydraulic and mechanical clutch release systems/linkage.
With our ClutchTamer installed, only the final part of clutch pedal's release is slowed down, not the whole release cycle, while the rest of the clutch pedal's travel works like normal. If you are using the clutch pedal during shifts, the slipper will soften drivetrain shock during the gear changes as well. Casual driving is NOT affected, there is no need to dis-connect the ClutchTamer for daily driving.
The Clutch Tamer slip controller allows you to choose a clutch with more capacity than you would normally choose. Typically that clutch would be too aggressive, but the addition of the first stage of the slip control provides the ability to apply only partial pressure initially, allowing slip. The second stage allows additional pressure to come in over time to insure the clutch doesn't slip any longer than it needs to.
The most surprising thing that you will realize with the ClutchTamer is how much more power you will be able to put down without breaking parts!
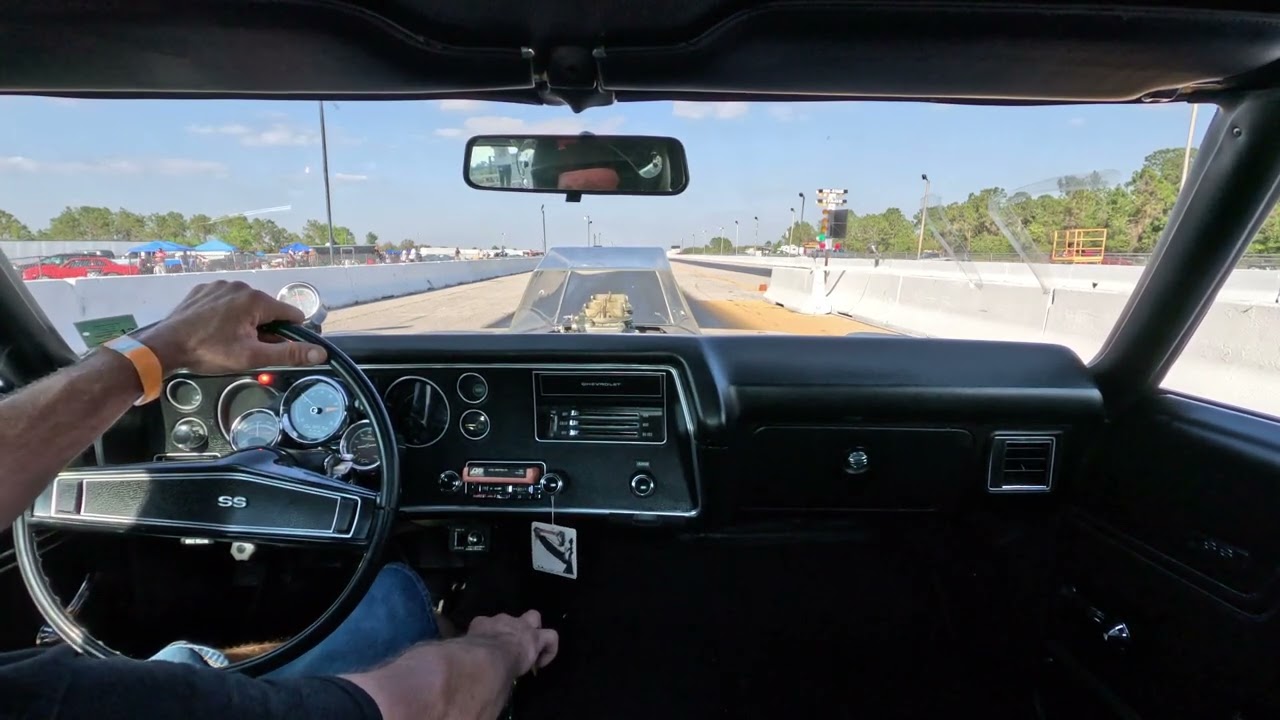
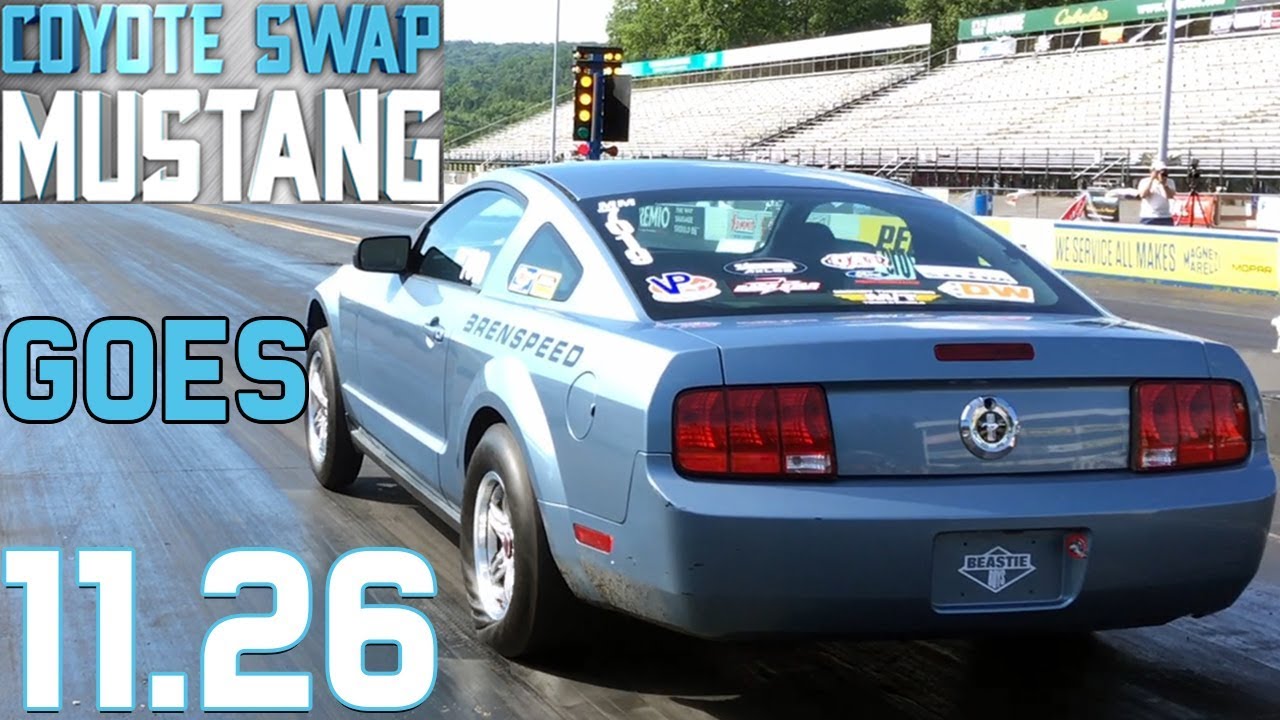
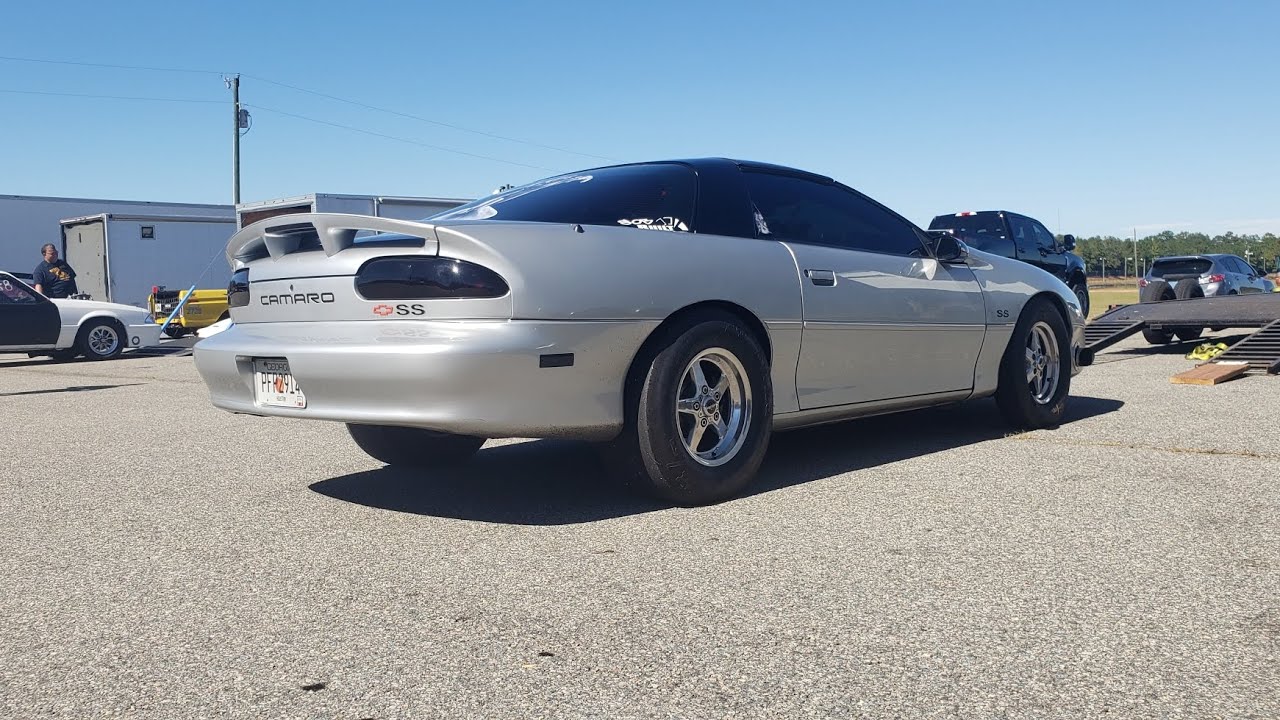
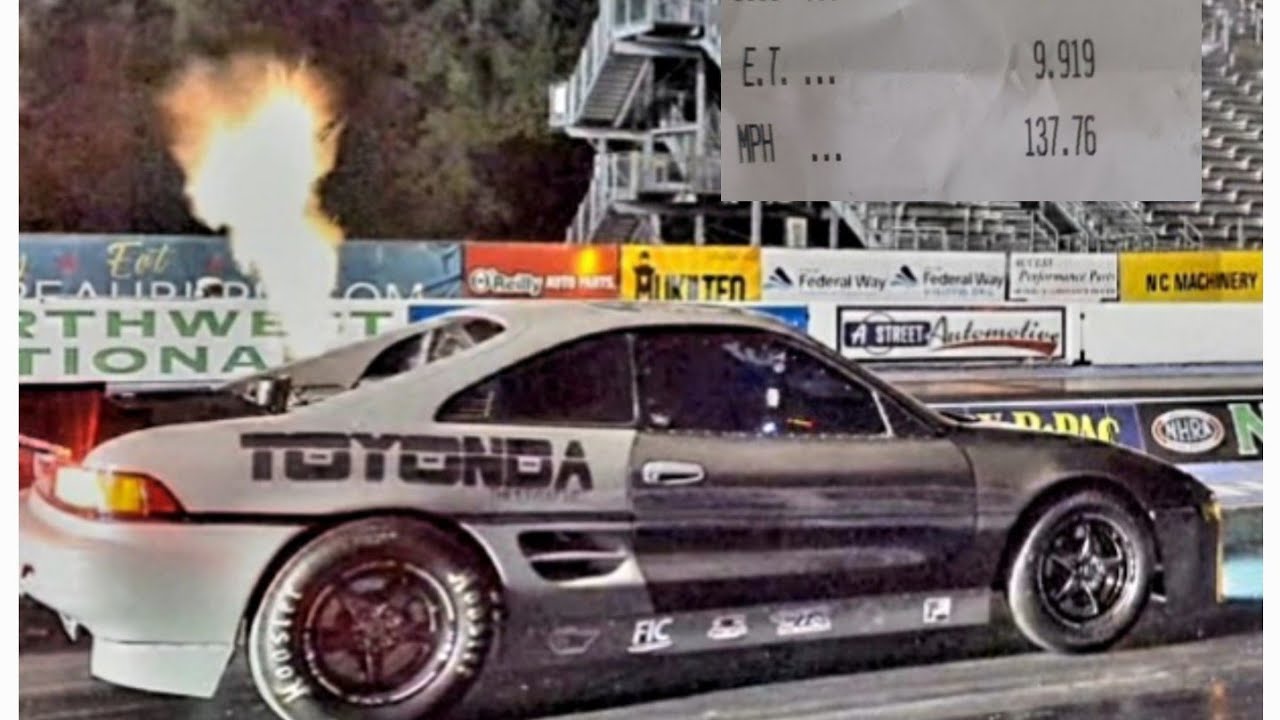
Here's a few ClutchTamer videos found on the web...

CURRENT PRICING...
Universal Muscle Car Kit $249
Universal Under-Dash w/ears $259 '79-'93 Mustang below-dash $259 '87-'89 Mustang in-dash $259 '90-'93 Mustang in-dash $259 '94-'04 Mustang in-dash $259 '86-'91 Mazda FC RX-7 in-dash $299
Cylinder Only (3" or 4" stroke) $139.
Universal Under-Dash w/ears $259 '79-'93 Mustang below-dash $259 '87-'89 Mustang in-dash $259 '90-'93 Mustang in-dash $259 '94-'04 Mustang in-dash $259 '86-'91 Mazda FC RX-7 in-dash $299
Cylinder Only (3" or 4" stroke) $139.
USA- Shipping USPS (postal) within the USA is typically around $22.
CANADA- USPS (postal) to Canada typically adds appx $38.
Priority Mail Shipping (postal) to Canada typically adds appx $65.
Although your order may arrive sooner, please allow 1-2 weeks for delivery.
We appreciate your business and support.
Understanding the ClutchTamer's Adjustments-
Outer "DELAY" Knob- the ClutchTamer's outer "delay" knob's function may be easier to understand if you think of it as an "anti-bog" adjustment. The slower the clutch pedal moves after the hit point, the slower the clutch will pull the engine down. This gives the car more time to accelerate before the clutch locks up, which in-turn reduces bog...
......turning the outer knob clockwise reduces engine bog during launch.
......turning the outer knob counter-clockwise makes the clutch pull the engine down quicker during launch.
Inner "HIT" Dial- the ClutchTamer's inner knob function may be easier to understand if you think of it as controlling traction. Adjusting the inner dial changes the distance between the ClutchTamer's inner dial and outer knob, the separation between those two is what determines exactly where in the clutch pedal's return travel that the ClutchTamer becomes effective...
......turning the inner dial clockwise makes the clutch hit harder, more likely to spin the tires.
......turning the inner dial counter-clockwise makes the clutch hit softer, less likely to spin the tires.
ClutchTamer Sequence of Adjustments
...1- Avoid over-clutching the car if possible! With a diaphragm clutch, it's can be hard to perfectly match the clutch to the application. That typically means most diaphragm applications will end up with too much clutch. It's best to install a clutch that has just enough overall capacity to handle all the power that you are going to put thru it over the disc's entire lifespan, as this will give you the broadest possible clutch tuning window. If your pressure plate has adjustable static clamp pressure, you should get this in the ballpark before proceeding.
...2- Line-lock and 2-step switches should not release from top of clutch pedal travel- With the ClutchTamer controlling clutch engagement, your clutch pedal may not immediately return to the top of its travel when the clutch pedal is released. If you use an oem style upper clutch pedal switch to release the 2-step and/or line-lock, the result could be a second or so delay of when the pedal contacts the clutch switch. Late release of the 2-step will likely only cause a performance issue, but late release of the line-lock will cause a safety issue. Please make sure that your line-lock is not releasing AFTER the clutch hits!
...3- Adjust the clutch pedal stop- Before you adjust the 'tamer, it's very important that you install a clutch pedal stop and verify its proper adjustment. By proper adjustment, we mean a setting that allows enough clutch dis-engagement to achieve clean hi-rpm shifts, but also one that does not cause the car to creep with the clutch pedal against the stop at launch rpm. Using a pedal stop helps ensure a consistent release point, which in turn helps ensure that you get repeatable results. If for some reason you have to change your pedal stop height after you begin the tuning process (maybe you find the clutch isn't releasing cleanly which causes a shifting problem), you may have to go back and repeat the tuning process all over again.
...4- Initial Outer "Delay" Knob Setting- slowly turn the outer "delay" knob counter-clockwise until you feel a slight resistance. The point where you feel that slight resistance is the "0" point in the delay setting. There are about 10 turns of clockwise adjustment available. After finding that "0" starting point, set the outer knob to "1" turn clockwise from zero.
...5- Initial Inner "hit" dial Setting- set the ClutchTamer's inner "initial hit" dial to a setting that stops the pedal at about 2/3rds of the way up after a simulated launch from the pedal stop with the engine "off".
...6- Determine a Suitable Launch RPM- Changing launch rpm can affect your clutch's 1st stage inertia draw rate!!!!!! Even without any sort of "centrifugal assist", a typical 10.5" diaphragm style pressure plate can gain around 350lbs of clamp pressure just by going from 4000rpm to 7000rpm. For best ET, you generally want to stage at least 2000rpm above your engine's torque peak. You can choose any launch rpm you want (typically the higher the better), but it's a good idea to keep launch rpm consistent from run-to-run if you want consistent results.
...7- Adjusting the Initial Hit- time to make some hits!!! The first few hits shouldn't last more than a second or so. It helps to have a friend watch the tires from outside the car to verify the difference between tire spin and clutch slip. Make a hit and adjust from there.
......Do the tires spin? adjust the inner "initial hit" dial a couple turns counter-clockwise, repeat the hit.
......Does the clutch slip? adjust the inner "initial hit" dial a couple turns clockwise, repeat the hit.
At this point we want the clutch to bog the engine against WOT, the goal here is to find the inner dial setting that bogs the engine as fast as possible without spinning the tires.
...8- After letting the clutch cool, it's time to use the outer knob to dial out engine bog- If the clutch is well matched to the combination, a "0" outer knob setting might be required. If on the other hand the clutch you have can hold a lot more torque than your engine is putting out, an outer knob setting of "7" turns might be required. The basic goal of the outer knob setting is to keep the clutch from pulling the engine below it's torque peak during launch.
NOTE- The above procedure will get you to about 90-95% of your potential. To get that last 5-10%, you will likely need some data. Timeslips from the track are very useful, but adding a data recorder can save a lot of trial/error testing.
For a quick et and minimal reaction time, don't be afraid of launch rpm. Launch rpm is basically stored energy, and the engine has to make the energy that it takes to spin up that rotating assy. The higher you can spin it up prior to the start, the more power that will be available to accelerate the car when the clocks are running. The ClutchTamer is there to control that energy flow, we want the clutch hit to be aggressive enough to get things moving as quickly as possible without bogging the engine.
When you are done, be sure to measure/record your initial hit setting and the conditions. This will help you build a library of clutch tunes to draw on in the future. The most common method for the hit setting is to measure the gap between the inner "Initial Hit" dial and the inner part of the dash bracket's slide bushing. A small dial caliper works great. The gap you are measuring can be seen in the center of the picture to the right.
Another method to reference a particular setting if you have a hydraulic release system, is to install a pressure gauge to measure psi at the slave/throwout bearing. Basically idle the car in neutral, then record the psi number at the "hit" during a simulated launch. We define a simulated launch as simultaneous release of both the clutch pedal and line lock button, with the engine idling and the transmission in neutral. The object is to cycle the components while the clutch is rotating, an idling engine makes the results more consistent by minimizing any added effects due to centrifugal forces.
For clutch tuning our Shop Mule test car, we added a pressure sensor to the end of our hydraulic throw-out bearing's bleed hose. That pressure sensor's data is displayed to the driver by a Racepak Intelli-gauge, allowing for precise on the spot 1st stage clamp pressure changes without consulting a laptop. The Racepak data recorder is set to initiate a test session when triggered by the line-lock button. After data collection starts, we then put the shifter in neutral and "dry-snap" the clutch pedal @ idle prior to staging. That gives us a recorded snapshot on that run's graph showing the throw-out bearing's Psi release curve, leaving no doubt about what clutch control adjustments might have been in place for that pass.
For clutch tuning our Shop Mule test car, we added a pressure sensor to the end of our hydraulic throw-out bearing's bleed hose. That pressure sensor's data is displayed to the driver by a Racepak Intelli-gauge, allowing for precise on the spot 1st stage clamp pressure changes without consulting a laptop. The Racepak data recorder is set to initiate a test session when triggered by the line-lock button. After data collection starts, we then put the shifter in neutral and "dry-snap" the clutch pedal @ idle prior to staging. That gives us a recorded snapshot on that run's graph showing the throw-out bearing's Psi release curve, leaving no doubt about what clutch control adjustments might have been in place for that pass.